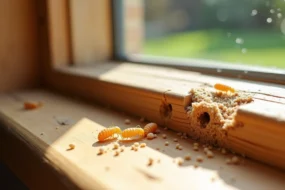
I spent three years stripping paint from the woodwork in my house, so I know firsthand how challenging it can be to remove paint from wood without damaging it. Whether you’re working with intricate details or large surfaces, the right paint removal technique can reveal the original character and craftsmanship hidden beneath layers of old paint.
Removing paint from wood is often a test of patience, especially when dealing with primer and filler embedded in wood grain pores for many years. But with the right tools and approach, you can successfully strip away unwanted paint while preserving the wood’s integrity. After all, there’s something incredibly satisfying about peeling away a solid strip of paint 18 inches long without gouging the beautiful wood underneath.
In this article, we’ll walk you through a simple, step-by-step process for removing paint from wood surfaces. From heat guns and chemical strippers to natural alternatives, we’ll cover the best ways to strip paint while keeping your wood damage-free. Let’s bring your original woodwork back to life!
Prepare the Wood Surface Safely
Before diving into paint removal, proper preparation is essential to protect both you and the wood. Taking these initial steps ensures a safer, more effective process throughout your project.
Check the type of wood and paint
First, examine what type of wood you’re working with, as this determines which removal method will work best. Softwoods like pine or fir are more susceptible to scratching and denting during paint removal. Alternatively, hardwoods such as oak, maple, or walnut can withstand more aggressive techniques. For thin veneers, you’ll need to be particularly gentle to avoid damaging the delicate surface layer.
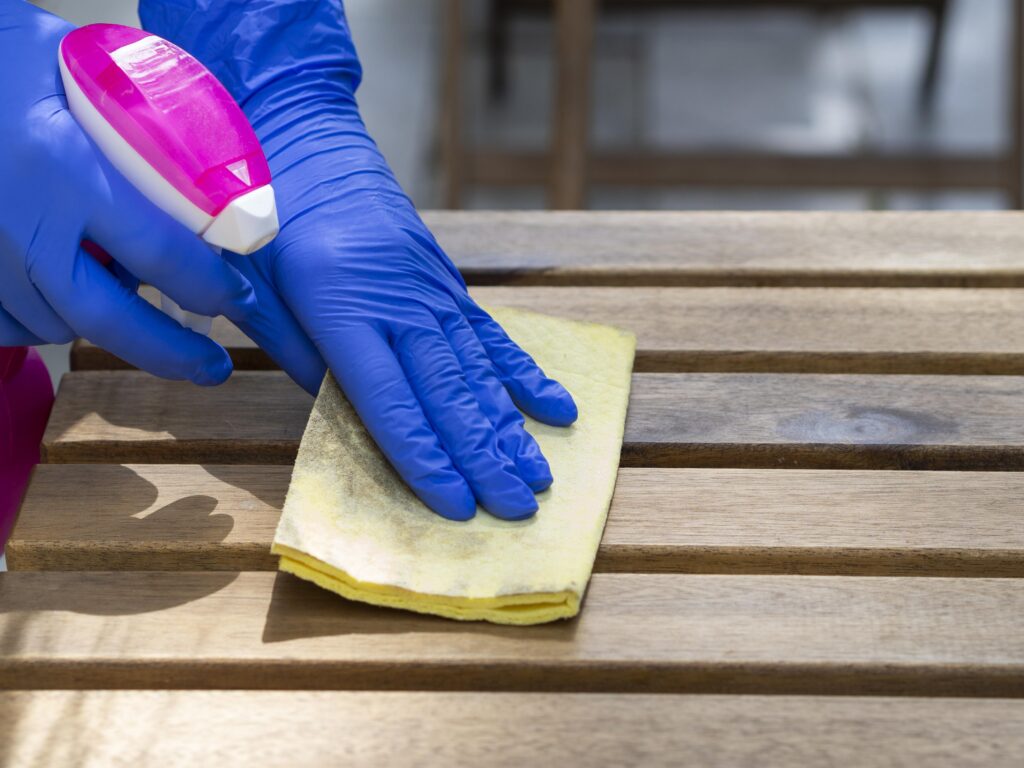
Clean the wood surface thoroughly before beginning any paint removal work. Dust and dirt can interfere with how paint removers work and potentially damage the wood underneath. A quick wipe-down will make your paint removal efforts more effective.
Test for lead-based paint
This step is absolutely critical for your safety. If your home or furniture was built before 1978, there’s a high probability it contains lead-based paint. Approximately 29 million housing units in the US have lead-based paint hazards including deteriorated paint and lead-contaminated dust.
You have two testing options:
- Home test kits: These provide quick results – typically showing pink or red if lead exceeds safe limits – but only detect lead on the surface layer
- Laboratory testing: More accurate but takes longer to get results
If you discover lead paint, consider hiring a professional. Lead exposure is particularly dangerous for children, with about 2.6 million homes containing lead hazards occupied by young children.
Protect surrounding areas and yourself
Once you’ve assessed the wood and paint, set up proper protection:
- Use drop cloths or plastic sheets to cover floors and nearby objects
- Ensure proper ventilation by opening windows or using fans
- Wear appropriate safety gear including gloves, safety goggles, and an N95 mask or better
- Have clean-up materials ready before you start
For lead paint removal, additional precautions include working in well-ventilated areas with HEPA filtration and containing debris for proper disposal. Remember that lead paint chips are considered hazardous waste and should be disposed of appropriately.
Following these preparation steps makes the actual paint removal process safer and helps preserve the integrity of your wood.
Choose the Right Paint Removal Method
Selecting the appropriate paint removal technique is crucial for preserving your wood’s integrity. Each method has distinct advantages depending on your specific project needs.
Using a heat gun safely
Heat guns effectively loosen paint by warming it until it bubbles and separates from wood. For optimal results, hold the gun a few inches from the surface and move it continuously in a back-and-forth motion. Always start with the lowest temperature setting to prevent scorching the wood. The paint will begin to bubble, allowing you to gently scrape it away with a putty knife or scraper. Never leave the heat gun focused on one spot, as this can damage the wood or even create fire hazards.
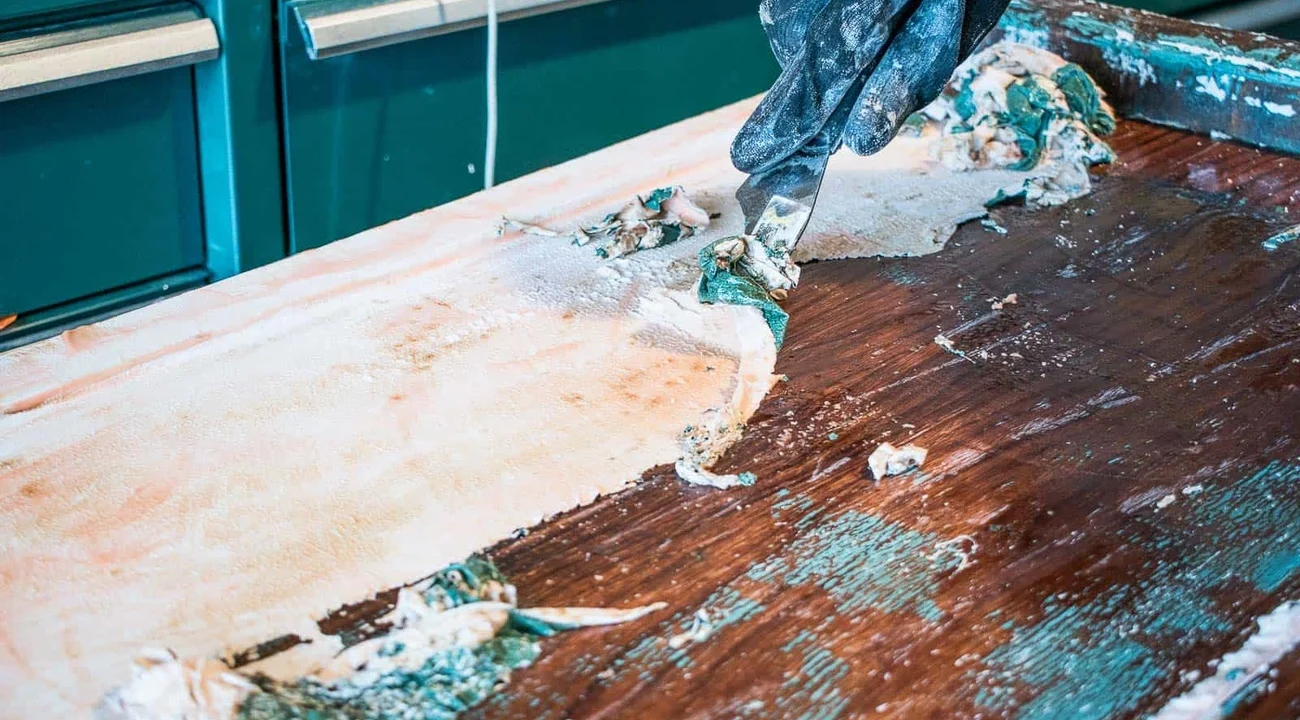
Applying chemical strippers
Chemical paint strippers break down the bond between paint and wood, making removal significantly easier. Select a product specifically designed for your wood type, then apply it evenly with a brush in a well-ventilated area. Allow the stripper to sit according to manufacturer instructions—typically 30 minutes to overnight. Afterward, carefully scrape away the softened paint and clean the surface to remove any residual chemicals.
Trying natural alternatives like vinegar or baking soda
For those preferring eco-friendly options, white vinegar can effectively tackle water-based paints. Simply heat vinegar until warm (not boiling), apply to the painted surface, and wait 10-15 minutes before scraping. Alternatively, create a baking soda paste by mixing equal parts baking soda and water. Apply the mixture, let it dry for about 30 minutes, then scrape the softened paint. However, avoid leaving baking soda on wood too long since it may cause scratching or damage sealants.
Using infrared paint removers
Infrared technology offers a modern solution that operates at lower temperatures (450-550°F) compared to heat guns (1100°F). These devices heat paint evenly without damaging wood beneath, making them ideal for detailed work and valuable pieces. Moreover, they create larger debris fragments for easier cleanup and operate below the temperature at which lead paint vaporizes.
Clean and Restore the Wood
Once you’ve successfully removed the bulk of the paint, your wooden surface still needs proper cleaning and restoration. This phase is often overlooked yet remains vital for achieving professional results.
Neutralize chemical residue
After using chemical strippers, neutralizing the residue is absolutely essential. If you skip this step, your future paint or finish will fail prematurely due to leftover chemical residue. Each stripper requires a specific neutralizer—some need water, others mineral spirits, and some require specialized solutions. Always check the manufacturer’s instructions for proper neutralization methods. For many water-based strippers, mineral spirits effectively neutralize and clean the surface. Simply dampen a clean rag with the appropriate neutralizer and thoroughly wipe down all treated areas.
Light sanding without damaging the grain
Proper sanding creates a smooth foundation for new finishes. Initially, use medium-grit sandpaper (100-150 grit) to remove any lingering finish. Always sand with the direction of the wood grain to avoid creating unsightly scratches. Subsequently, switch to fine-grit paper (180-220) for a polished result. Between sanding stages, clean thoroughly with a tack cloth or microfiber towel to remove dust particles that could mar your finish. For detailed areas, hand sanding gives you better control and helps preserve intricate features.
How to remove paint from wood grain pores
Wood pores often trap stubborn paint particles that regular stripping misses. For these challenging spots, several approaches work effectively. Try soaking a rag with methylated spirits, placing it on the affected area for 10-15 minutes covered with plastic to prevent evaporation. Additionally, acetone or heat guns set at lower temperatures can help lift paint from pores. For particularly stubborn pore paint, steel wool (000 grade) paired with a thin coat of stripper creates a chemical sanding effect that removes embedded primer from pores—a crucial step if you plan to stain the wood.
Dealing with stubborn paint in crevices
Decorative elements and tight corners present unique challenges. Wire brushes work remarkably well for accessing nooks and crannies where scrapers can’t reach. For extremely detailed areas, try straight pins or dental picks to remove paint from deep grooves. Another effective technique involves applying one final thin coat of stripper to troublesome areas, letting it work briefly, then using 000 steel wool in circular motions to polish away remaining paint. This method essentially provides chemical sanding for detailed areas where mechanical sanding isn’t feasible.
Refinish and Protect the Wood
After cleaning your newly paint-free wood, protecting it ensures your hard work lasts. Proper refinishing transforms your restoration project from merely functional to beautifully finished.
Choosing the right stain or finish
The type of project and wood species should guide your finish choice. For furniture and interior items, consider:
- Shellac – ideal for lighter woods with a naturally warm amber tone
- Polyurethane – better for darker woods and high-moisture areas
- Tung oil or Danish oil – for a natural look with easy application
Applying shellac or polyurethane
Shellac dries quickly but offers less durability than polyurethane. Notably, dewaxed shellac works best under polyurethane, as waxed varieties may cause adhesion issues. For optimal results, apply thin coats (1-2 pound cut) and allow adequate drying time between applications.
Touching up missed spots with matching paint
For damaged areas, light sanding with 220-grit sandpaper creates a smooth foundation. When matching colors, take a drawer or small piece to your paint store for precise color matching. Apply touch-up paint using long brush strokes to prevent streaking, then seal with a clear topcoat.
How to remove acrylic paint from wood
Fresh acrylic responds well to soap and water. For dried acrylic, use rubbing alcohol (91% isopropyl) or denatured alcohol. Alternatively, olive oil can safely soften stubborn spots on finished wood. Always neutralize afterward – mineral spirits for chemical solvents, warm soapy water for gentler removers.
Conclusion
Restoring wood to its natural beauty certainly requires patience and attention to detail. Throughout this process, your choice of paint removal method will largely depend on the specific characteristics of your wood and the type of paint you’re dealing with. Heat guns work wonderfully for large areas, while chemical strippers excel at tackling multiple layers of paint. Natural alternatives like vinegar or baking soda provide gentler options for simpler projects.
After all, proper preparation makes all the difference between a successful restoration and potential damage. Testing for lead paint must remain a priority, especially when working with older furniture or homes. Safety precautions protect not only the wood but also your health during this restoration journey.
Once paint removal is complete, thorough cleaning and neutralizing become essential steps many people overlook. These critical actions prevent future finish failure and ensure your wood remains pristine. The final touches—whether staining, sealing with shellac, or applying polyurethane—protect your newly restored wood surface for years to come.
Remember, patience truly is your greatest ally during wood restoration projects. Rushing through any stage might damage the beautiful grain hidden beneath those layers of paint. With these techniques and a careful approach, you can successfully transform painted wood back to its original glory without compromising its integrity.
Key Takeaways
Successfully removing paint from wood requires the right preparation, technique selection, and finishing approach to preserve the wood’s natural beauty and integrity.
• Always test for lead paint first – Homes built before 1978 likely contain lead-based paint, requiring special safety precautions and potentially professional removal.
• Choose removal methods based on wood type – Heat guns work best for large areas, chemical strippers handle multiple paint layers, while natural alternatives like vinegar suit gentler projects.
• Neutralize chemical residue completely – Skipping this crucial step after using chemical strippers will cause future finishes to fail prematurely.
• Sand with the grain direction only – Use medium-grit (100-150) then fine-grit (180-220) sandpaper following wood grain patterns to avoid unsightly scratches.
• Address stubborn paint in pores and crevices – Use steel wool with methylated spirits or acetone for embedded paint, and wire brushes or dental picks for detailed areas.
The key to successful paint removal lies in patience and proper technique selection. Rushing through any stage can damage the beautiful wood grain you’re working to reveal, while following these systematic steps ensures professional-quality results that will last for years.
FAQs
Q1. What’s the best method to remove paint from wood without causing damage?
The best method depends on the type of paint and wood. For large areas, heat guns work well. Chemical strippers are effective for multiple paint layers. For gentler removal, try natural alternatives like vinegar or baking soda. Always test a small area first and use proper safety precautions.
Q2. How do I prepare the wood surface before removing paint?
Start by cleaning the surface thoroughly. Check the type of wood and paint you’re dealing with. Test for lead-based paint if the item is older. Protect surrounding areas with drop cloths and wear appropriate safety gear like gloves and goggles.
Q3. Can I use household items to remove paint from wood?
Yes, some household items can be effective. White vinegar can soften water-based paints when warmed and applied for 10-15 minutes. A paste made from equal parts baking soda and water can also help loosen paint after about 30 minutes.
Q4. How do I deal with stubborn paint in wood grain and crevices?
For paint stuck in wood grain, try soaking a rag in methylated spirits and applying it to the area for 10-15 minutes. For crevices, use wire brushes or dental picks. You can also apply a thin coat of stripper and use fine steel wool in circular motions to remove remaining paint.
Q5. What should I do after removing the paint to protect the wood?
After paint removal, neutralize any chemical residue and sand the surface lightly with the grain. Choose an appropriate finish like shellac, polyurethane, or oil, depending on the wood type and intended use. Apply the finish in thin coats, allowing proper drying time between applications.
Hi, I’m Ankit Bisht. I’m an SEO and content marketing specialist with over 7 years of experience helping businesses strengthen their online presence. I focus on developing effective SEO strategies, in-depth keyword research, and data-driven content optimization to boost visibility, rankings, and traffic. I’m passionate about exploring the latest SEO trends, analyzing performance data, and implementing smart solutions that deliver measurable results.